Enameling in the Studio
Click on the thumbnails and medium sized images below to view larger images of
Linda at work in her studio. This section highlights the enamling process from beginning to end.
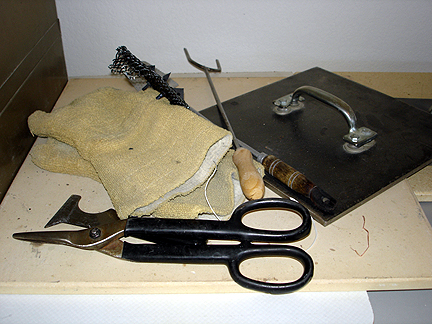
Tools of the Trade
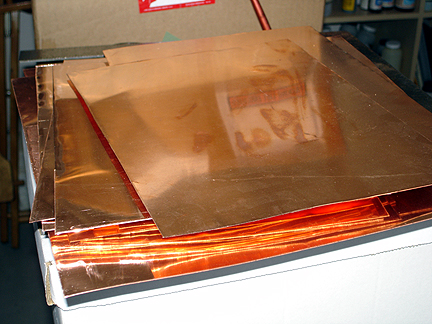

Enameling begins with copper sheets that are cleaned and then hammered flat. Enamels are powdered colored glass.
They are
added to the copper with various implements to create an image. The copper is then fired in a kiln using several kiln tools
which aid in the firing process.
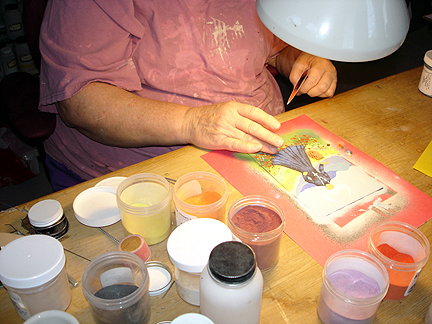
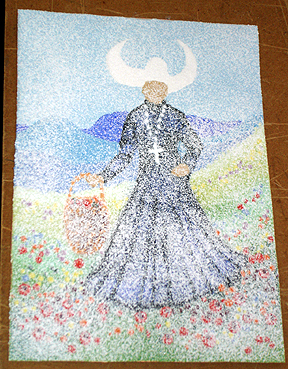
Enamling Process
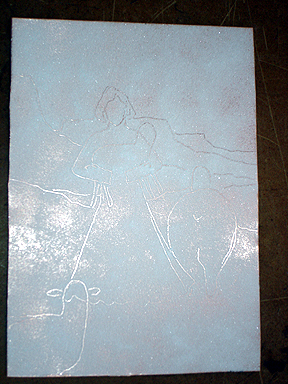

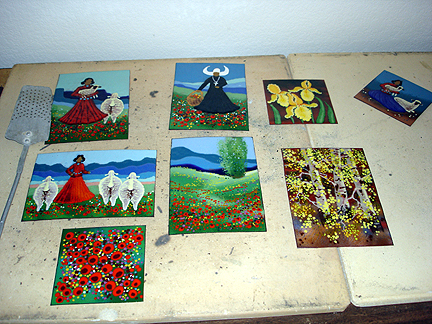
The pictures shown at left and below feature Linda adding the enamels onto the copper. At first the copper
is prepped and a design is outlined. Using a sieve, a detailed paper tool, and hand tamping among other implements,
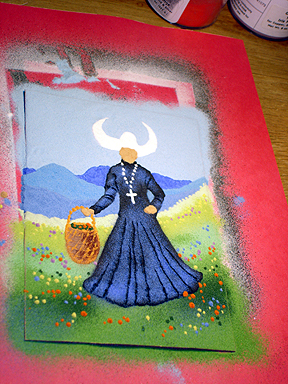
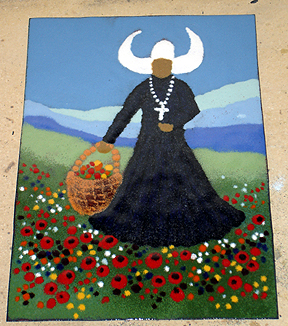
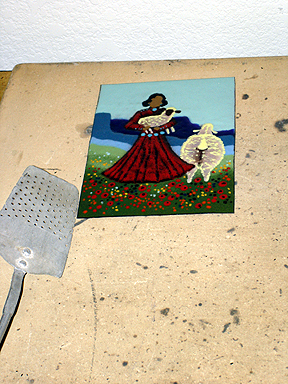
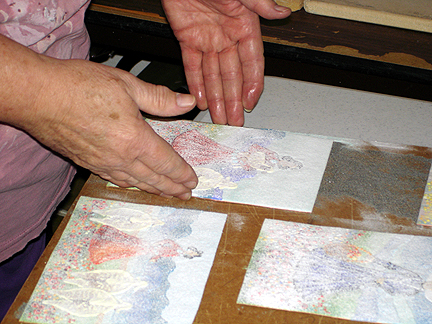
Linda adds the enamels to the design. Shown lastly below are three images--after the enameling is finished, enamel prepped with
an overcoat before firing, and then the finished piece after firing. Scroll further down to view the firing process.
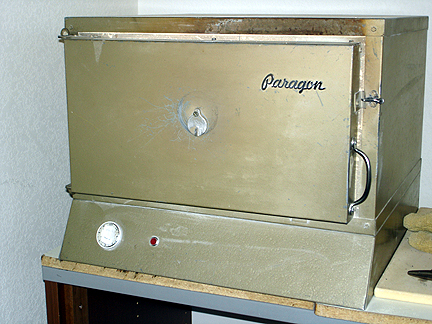
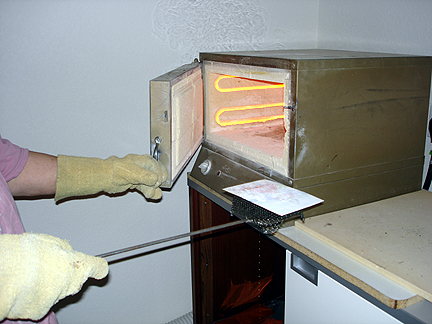
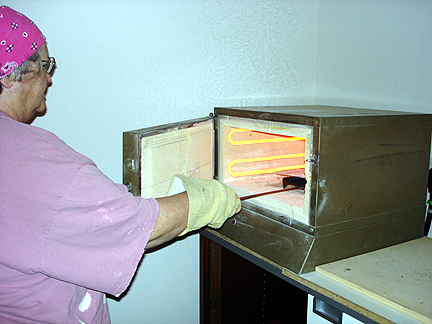
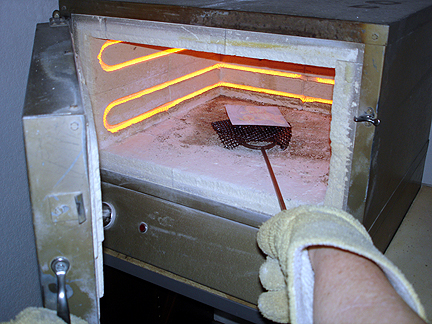
Firing the Enamels
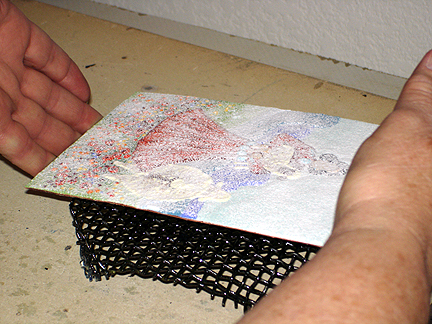
The enamels are carefully placed upon a trivet for firing and then using a long spatula they
are placed into the kiln for firing. Enamels are fired at approximately 1600 degrees for around two to
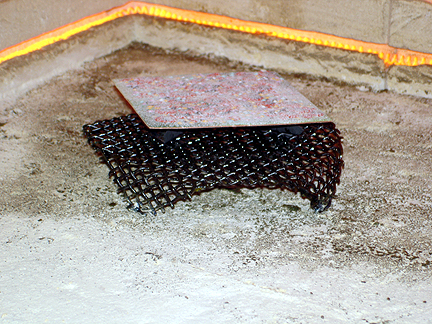
three minutes. Using the same spatula, they are carefully removed to a cooling surface where a weight
is placed on top so the enamel won't warp. Then the enamel is placed on the finishing table where it sets.
When it is removed from the kiln the coloring is darker than it was before firing--it begins to lighten up as
it cools. Once fired, it is ready for framing or for use in other forms of presentation such as Linda's specialty
boxes and jewelry boxes.
Copyright 2005-2014, Linda Pond Enamels
|